Tuesday, May 28, 2013

Cooking with Monkey Brains

Hailing back to when I went to University and had the first taste of cable TV + internet, its since been a steady fixture in every house I'd lived in. Whilst the cost has gone up however, I often feel that nothing much has changed since the 90's apart from my growing apathy towards paying through the nose for what must be considered a basic service these days.

So our household recently cut the cable cord for the first time *.

(*although technically, back when we lived above City Beer Store, the building had Webpass microwave internet installed as well as cable - 100Mbs up/down!).


UI, UI, UI

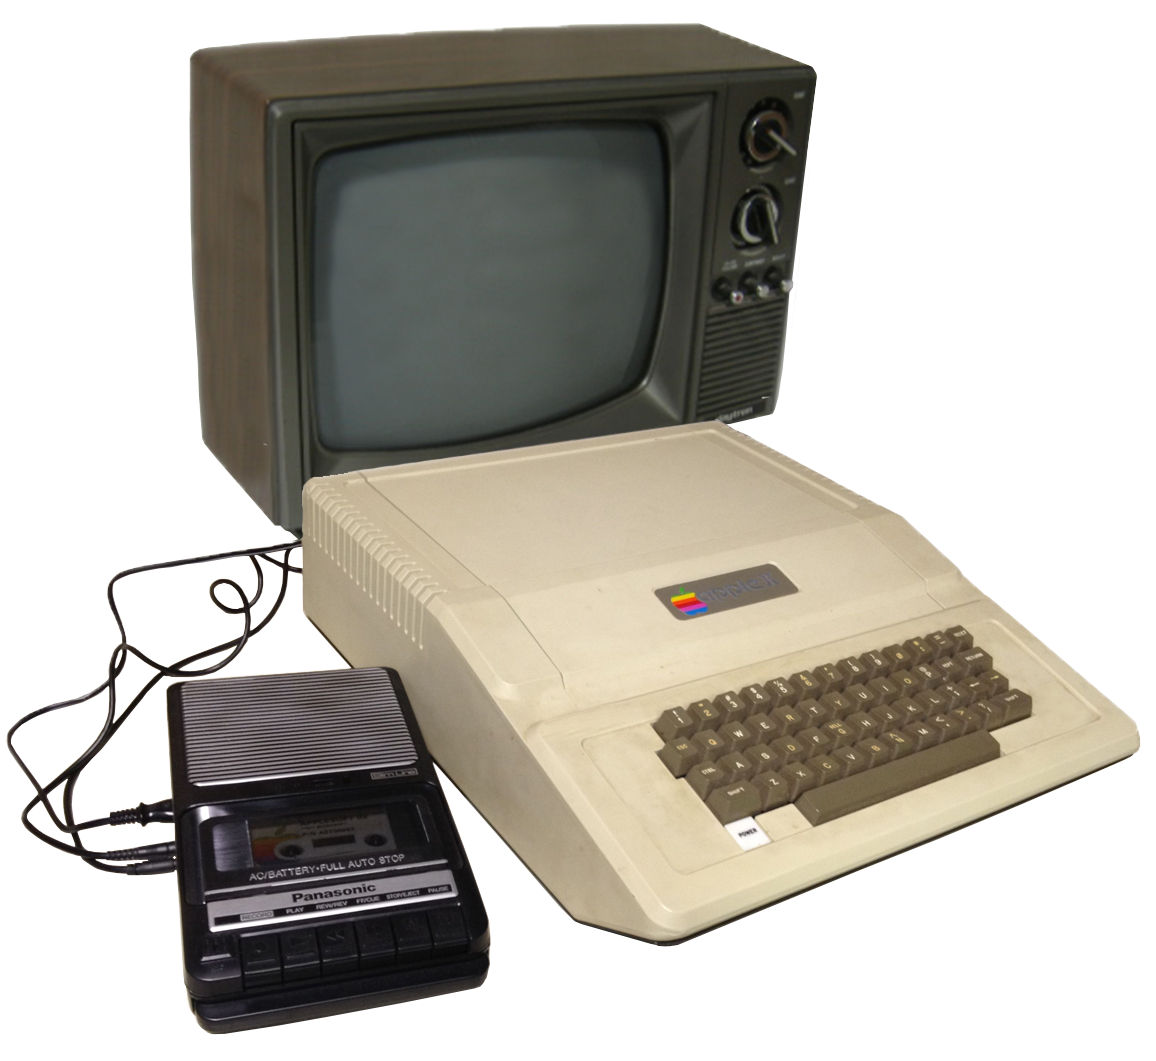
One of my biggest issues with cable TV was, and still is the UI. Not only is it slow (a quick shout out to Virgin Media in the UK, who I actually had to round to my house in 2003 because I thought that the box was broken or misconfigured, such was the sluggishness in the interface) but its full of formatting issues, dumb questions and has a navigation speed 2 knots below a slow boat to China.

Image curtesy of http://unixjunkie.blogspot.com/2007/10/i-am-certainly-no-ui-guru-favorite-ui.html

Much has been written about this over the years, yet in 2013, the only selection of cable boxes I could get in my postcode (a fairly mainstream area of San Francisco) still has this 'classic' design. And they ask over 120 bucks a month for this!!


MONKEY BRAINS ISP - SAN FRANCISCO

Monkey Brains is an ISP in San Francisco that supplies the internet to your home, via a dish on your roof. Its very much a local company, only handling business and residential connections in the city and even then, in select areas.


The dish they installed on my house is the Ubiquiti Nanobridge M5 (datasheet here). This uses a 5GHz channel (line of sight) running a proprietary protocol (AirMax TDMA), pointing to a concentrator node that sits on the MB backbone.


The install cost is 250$ which seems reasonable (the kit itself costs ~100$ and there is a free month of service thrown in).


PING AND BANDWIDTH

I have been known to obsess about the odd game now and then, and one thing we all know is that a lower the ping you have, the better the online player you are :) Running a few speed tests over the wire late at night, I got the following:

Running speed test from idle:


During netflix streaming (to the XBox):


This seems perfectly acceptable, although the upload speed is a little disappointing  However, there are a few characteristics of the link that are not great:


  • During peak hours, ping can jump to 300ms+ and downlink below 4Mbs
  • There appears to be either a QoS or bandwidth reservation process going on that causes some streaming sites to stutter when starting up  (again, during peak hours). When established however, they work fine. Youtube is particularly bad here for some reason, often falling back to poor quality stream before it recovers.


Still, for 35$ a month, I have been happy with the service so far.


MICROWAVE POWER

The wife, whose input about the dish on our roof was still a popular topic in the house, had one additional interesting observation, namely that of the title of the wireless provider:

- "Will our 6 month old son be affected by the addition microwave output? Is this why they called it monkey brains?!"

Reading up on the topic, the output from this seems to be equivalent to 3 mobile phones, but highly directional and as long as you don't sunbathe in front of it, there is nothing to be worried about.

But I tried to cook my dinner on it anyway (Bavarian Bratwurst - very tasty).

After 30 mins, the sausage hadn't cooked.

Last word - apologies to our next door neighbors for hiding behind my balcony after I heard your kids shouting something about "fishing". You really didn't need to see a man standing in the rain with a baseball bat, cooking a sausage on his 'satellite dish'. 

Sunday, May 12, 2013

ApplyPy


Back when I was at school, just when the BBC Micro was busy making a big splash as the hottest new computer to penetrate the school system, Staffordshire Education Authority were busy purchasing computers from a company called Research Machines. These guys had a competing 8bit micro on the market in the early 80's called the 480z.


This wasn't just a standalone computer however (although it could boot off 5 1/4" floppy disks), our schools installation booted off the network and could share files / programs with other users.

During the fabulous early IT education in the UK that was concerned with mice and thermal printers, a wondering mind would sit in the computer lab, experimenting with the network and its various secrets. After writing a chat program in pascal to allowed the class to communicate with each other (some mischief did surprisingly occur), I fell over the game of games, RobotWar.

This game quickly turned into the ultimate programming competition amongst a few friends. Many lunchtimes were spent hiding in the lab, coding up robots (it used a BASIC like language) and fighting battles against each other. Fond memories, which on recent recollection gave me a hankering to dig this game up.

As 480z machines were never popular enough outside the education market to be emulated in these modern times, the only version I could find was for the Apple ][ , stored as a WAV recording of the original cassette tape. I found what looked like an interesting emulator for the Apple ][ and downloaded it, ready to run through a few rounds of the game and then retire to bed. But the emulator didn't support the cassette HW (or disk).


APPLEPY

Instead of grabbing another emulator, I took a quick look at the the src to ApplePy, written in (sic) python. The basics of the emulator are pretty neatly put together.

  • cpu6502.py - a model of the 6502  processor including the instruction set and the bus (basic ROM and RAM models included)
  • applepy_curses.py (or simply applypy.py) - the front end to the emulator that uses the curses API or pygame module to visualize the display

The cpu6502 module runs as a separate process in the ApplePy emulator. Note that this module is not a direct proxy for an Apple computer as a whole, but more an abstract just representing the CPU complex and bus of a MOS Technology 6502. It does however hardcode the location of the RAM (0x0000 - 0x2000) + ROM (0xD000 - 0xFFFF) available in the design to the locations used by the Apple ][ , where in reality the processor is agnostic of the allocation of the address ranges.


The display, keyboard and other peripherals that make up the Apple ][ hardware live in the applypy_curses.py OR applepy.py files (depending if you want a ncurses based display or something that uses pygame). These peripherals simply accept in read or write bus requests for data and either output to the display or read from a keyboard peripheral. However, as these are in a different process, the 2 python modules need communicate via a socket that is established when the cpu6502.py is spawned. This protocol uses a simple character based message passing protocol for the CPU to request bus read / writes from the remote process.


TAPE INTERFACE

The Apple II tape interface was pretty much an in sourcing of the Apple I external cassette adapter or ACI. The original Apple 1 cassette interface was mapped directly onto the 16k internal bus from the 6502 processor (same method as the display / keyboard peripherals) and consisted of 2 main parts:

  • 256bytes of ROM (routines to read / write to the tape)
  • Analog to digital HW to sample in the cassette signals

You would install the Apple 1 ACI interface to your nice and new Apple computer, boot the system and then jump to 0xC100 (where the ROM for the cassette interface was mapped) and it would take over reading in the tape contents to another location in memory. The ROM actually implemented a very basic cmd line to specify where to load the contents of the tape to (tapes usually shipped with instructions about how much memory was needed and the loading instructions).

In the Apple ][ however, the tape ROM was mopped up into the main monitor ROM and so you could simply read or write from the main monitor shell.

There is a great walk through of the physical tape interface and the Apple 1 ROM internals here - fitting in the code for the tape interface into 256 bytes of ROM was an amazing bit of coding and working through it, I came out with a lot of admiration for +Steve Wozniak.

Apple II, Panasonic RQ-2102 cassette, and TV - Photo credit: Carl Knoblock, Phil Pfeiffer

WHERE IS THIS GOING!

So, I modified the ApplyPy to support the cassette interface and in the process, had to write a great little hack to 'clean up' recordings of Apple cassette tapes. But its late, so I'll save writing this up for tomorrow.

Saturday, May 11, 2013

Photo Laser Confinement Grid

When Ghostbusters came out, I was always fascinated by the containment unit. It wasn't anything to do with how it worked (storing ghosts is clearly a complicated issue), but the user interface to it:

  • Capture a ghost in a single foot press
  • Take it back to HQ
  • Upload to the ghost storage unit by plugging in the trap

This was great - no selecting which directory to store a ghost in, a 10 second operation and some bonus levers to manipulate for satisfaction  Overly dramatic green and red lights and a zoning issue with the city really sealed the deal here. A quick training video from Ray:


The 2 button presses however? Meh.

Anyway, after I regained the usage of my NAS box for more traditional activities, the problem of managing all my photos was back on the cards. Also, the wife had started deleting photos 'on the camera' to make room for more cute baby pictures which is the kind of thing that keeps me awake at night, so action was needed.


PHOTO CONTAINMENT UNIT

My photo storage policy is pretty easy:

  • Store locally at home
  • Store in the cloud
  • Store randomly on a bunch of SDCards hanging around the house 

Clearly the card issue needs to be solved, although I am pretty sure I have them all... :) The home and cloud storage are just reflections of a good backup solution. Also the NAS ate a drive and is not to be trusted anymore.

However, all of this is maintained manually. What I really want is a photo containment unit that operates like this:

  • Capture photos on my camera
  • Take camera back home
  • Put camera card into photo containment unit and wait for the light to turn green

The storage here is automatic replication to the local RAID disks and Google Drive.

So I put one together this evening.


READY NAS PHOTO BOX

My NAS has a USB input on the front.


Plugging in an SDCard from my SLR into the front of this triggers a python script that copies off the new files to the disk. Then it triggers a sync to Google Drive.

Photo organization after upload is still done manually by viewing the files in a thumbnail mode and dragging them into new directories based on the topic. But I do this on a laptop which auto sync's with Google Drive and then updates both the cloud and NAS storage locations for the files. I thought about storing the files by date or even coarse GPS area, but I like to manually sort and prune out bad images etc... so I left it fairly basic.


GOOGLE DRIVE INTEGRATION

A great open src project, Grive is one of the few ways to sync files from a local Linux box to Google Drive without a UI.

https://github.com/Grive/grive

Cross compiling this onto the ReadyNAS (actually on the NAS itself) was a little bit of a mission however. The box is based on a SPARC LEON  derivative, a 280 Mhz processor from a company that used to exist called Infrant. Netgear bought this 34 person company back when they were building these SPARC based processors, moving them over to more standard and supportable ARM cores after acquisition.

Anyway, getting the ReadyNAS to cross compile Grive was an adventure that might be more difficult to  submit a pull request its github than reimplementing the calls to Boost . Shame really as I always liked Boost (well, in comparison to GCC implementation).


PYTHON TIME AND THE GITS

Of all the hacking I did on the ReadyNAS to make this work, the only real tangible piece of code is a 5 minute script knocked up that runs when an SDCard is inserted into the NAS box (triggered by the disk mounting).

The python script does the following:

  • Take in 3 paths
    • Photo storage directory
    • Memory card directory
    • Staging directory to copy the files to from the card (optional, if not specified it does not copy)
  • Create a list of all the files in the storage and memory card paths
    • Use the filename and size as a key
      • Adding in the date doesn't help as this gets reset on Windows when copying files around... I was guilty of this at one time. Joy.
  • Create list of files not on the photo storage disk but are on the memory card
    • Optionally dump to stdout
    • Copy these files to the staging directory (if specified)
      • When copying the file, keep the date the same from the memory card
  • Conflicts (where multiple files of the same name and size exist either on the photo disk or memory card)
    • Checksum the files and match away any pairs that exist automatically
      • Optionally dump to stdout
      • Side benefit of this is that is finds duplicates on the photo storage disk as well
    • Print out any remaining conflicts to stdout for manual fix ups
      • Copies these duplicates to a conflicts directory in the staging area


KODAK DC240i

I have a remaining issue, that of duplicate files on my photo storage disk that have different resolution / sizes. This was caused by an overzealous camera (I believe this was a Kodak DC240i, bought in fetching iMac blue when I got my first pay cheque after clearing my student loans).


This camera used to store a smaller thumbnail picture alongside the main image (which was only 1.3MP). At the time, JPEG decoding was very slow on a PC and navigating 'hundreds' of pictures was a real pain, so this was actually a pretty useful feature. 

I also pondered if this was done to enable the camera to navigate the captured images as well. This camera used the TI SoC as the main processor, based on a ARM7 at 80 MHz. There is a DSP also running at the same clock speed, which looks to be dedicated to audio input/output and the main event, a 90MHz SIMD processor for the ISP + JPEG encode/decode (not clear where the huffman decode/encode is done however). Back of a napkin suggests a JPEG decode speed (scaler CPU for huffman, 4 way vector DCT in the image accelerator) should be easily capable of 'good enough' full size JPEG decode for the camera preview, so maybe it really was an option to speed up desktop viewing.

Either way, whenever I see this, OCD kicks in and I look to clean it up. The issue is that the filenames are not linked for some reason, the dates mangled and I have 2000 of these images. What I need is a method to detect duplicate pictures (within a certain probability) for manual clean up.


DUPLICATE PICTURE DETECTION

I started messing with scipy to knock up a quick and dirty script for this, which works wonderfully for the test image I picked, but failed 9 of the other pictures I tried it with. Trying a low pass 2D filter before comparison helped, but now false positives started to pop up. Sub sampling is next (sample rate based on resolution), but it might be quicker to simply do this by hand... Or I might spend the next 3 months tinkering with it as usual.

Friday, May 10, 2013

Accessing OpenVPN from Android

A colleague from work recently pointed out that the $12 server he picked up after I had sent around the "LOOK AT THIS BARGIN" link was a perfect tool for circumventing the port block that was in place in the corporate guest wifi (said port block effectively rendering it useless for anything but basic web browsing).I don't know anything about this kind of behavior, yet was equally interested in this VPN for another, yet to be named use case.


THE INSTALL

The link below has the best explanation of how do this:

http://tipupdate.com/how-to-install-openvpn-on-ubuntu-vps/

I archived it as a PDF should this disappear any time soon.

On my personal experience of the installation was as follows (all done through "root"):

Success.. Success... Success... [Step 9 in the instructions] FAIL.


Note: in step 5, the following command is run:

. /etc/openvpn/easy-rsa/2.0/build-key client1

This is creating your client user name (i.e. the name you will log into the system as). Also critical for Android at least is to supply a password (and not just press enter on this field).

. /etc/openvpn/easy-rsa/2.0/build-key MY_INITIALS


THE TUN FAILURE

Looking at the log for the init.d startup script:

cat /var/log/syslog


Note: Cannot open TUN/TAP dev /dev/net/tun: No such file or directory (errno=2)
Note: Attempting fallback to kernel 2.2 TUN/TAP interface
Cannot allocate TUN/TAP dev dynamically

A quick google suggested that OpenVZ (the server virtual stack that is running on my VPS) often had this error, the root cause being that the kernel did not have the tun network module available. Some citations of security issues (although opinion seems divided) as the leading reason for it not being enabled by default.

Quick confirmation of this:

# modprobe tun
FATAL: Module tun not found.

A quick email to +URPad DC  support and its resolved 10 mins later. Great support guys!

Still not working however. More Googlage and this fixed it:

mkdir /dev/net
mknod /dev/net/tun c 10 200

Carrying on from Step 9. Success... Success!


THE P12

What we have done is configured a VPN, secured with "L2TP/IPsec CRT". This is in effect a digital certificate based authentication that you can install on a client (Android phone, laptop etc...) and authenticate automatically with the VPS server.

Android prefers the certificate and key in a single package (pkcs12 to be specific), so we need to combine the client certs + keys into a single file.

In the directory where we created the client keys (/etc/openvpn/easy-rsa/2.0/keys), the following files exist:


-rw-r--r-- 1 root root 3913 Jan 22 09:39 client1.crt
-rw------- 1 root root  887 Jan 22 09:39 client1.key


# cd /etc/openvpn/easy-rsa/2.0/keys
# openssl pkcs12 -export -in client1.crt -inkey client1.key -certfile dh1024.pem -out certs.p12

This outputs the file "certs.p12" which is a combo of the .crt and .key file.


ANDROID INSTALL

To download the .p12 file from the server (created in step 3), some obvious ways exist:

  • Download the certificates via app like WinSCP or file manager such as Servant Salamander with a SCP plugin and copy to your Android phone via the SDCard or USB (mass storage or ADB if your adventurous)
  • Grab them directly from the server via your Android phone
  • Email them to yourself on the phone

I went for the latter option - nice and clean. Android supports receiving uuencoded data, which is very easy to send from a shell. On the server, I ran the following:

# cd /etc/openvpn/easy-rsa/2.0/keys
# uuencode certs.p12 certs.p12 | mail -s "VPN Files" MYEMAILADDRESS@gmail.com -- -f MYEMAILADDRESS@gmail.com

Note: The uuencode first param is the input file, the second is the name of the attachment you want the file to appear as in the email.

In gmail app in Android, I simply selected the file and "saved" it to the phone. This doesn't give you an option of where to save it, but that is not important thankfully.

You can then import the certificates by going to:

  • Settings Menu
  • Security Menu
  • Install from SDCard
  • Then select the "Download" directory and then the file that you emailed yourself.